Seiten

Posts mit dem Label DIY werden angezeigt. Alle Posts anzeigen

Handpainted fabric - cushion cover DIY

Hej!
As you know I print on fabric. I use screenprint or I make templates/ stencils, sometimes I color the fabric before. This time I just painted on the fabric with a stencil brush. I worked with a dry brush, that means you don't dip it in water but only in the colour. This way the bristle strokes are visible and I like the rough appearance of it.


The one on the first picture is my favourite and I made a cushion cover out of this fabric. You can do it too, it's very simple :)


You need:
Black textile paint
stencil brush
fabric

How to:
Wash & iron the fabric and place it on a table. Put newspapers or an old cloth under it. You can tape the fabric at the edges with masking tape, so it doesn't slip. Dip the brush into the color and start drawing. Do 3-4 brushstrikes or even more. The brushstroke gets more interesting with less colour. Do a test on a little piece of fabric before.
Fix the colour according to the manual. Now you can sew whatever you like, here is my finished product:


 Do you like it? If you have any questions about this DIY project, just write me :)

On the wall - little DIY projects II

Hej
Today I want to show you Jonas' wall and a little DIY project:


The black triangels on the sides are made with Photoshop. The wall around the pictures is actually white!
 
1) Wooden triangels mad by my mothers uncle, Johannes Scharfenstein
2) A Drawing from my mother (when she was young)
3) A postcard I bought in the museum Ludwig/ Cologne
4) Picture I drew when I did a folder presentation course
5) Hanging vase from Tiger
6) Singing rabbit, watercolor picture I made for Jonas
7) Sorry, I don't know who made this (if you do, let me know)
8) Today's little DIY project:  A hexagon painted with blackboard paint

Instruction:
Mark the end points of a hexagon on the wall (with a pencil)
You can draw the hexagon on paper first, cut it out and use it as a template, don' t draw on the wall directly. Connect the end poits with painter' s masking tape. Now you can paint the inner surface with blackboard paint. Let it dry overnight and paint it again.


We made some changes some weeks ago. I bought a record-frame and now Jonas is changing the recordcover from time to time. At the moment it' s Tom Waits, I really like the arrangement! We were inspired by my brother who has a Vinyl of the week thing: every week he hangs up a new cover on the wall and listens to the record!


Bye Bye!

On the wall - Little DIY project

Hej!
I want to show you my new arrangement of pictures on my wall. I like to change pictures from time to time and the little diy - project I want to write about today is perfect for that:


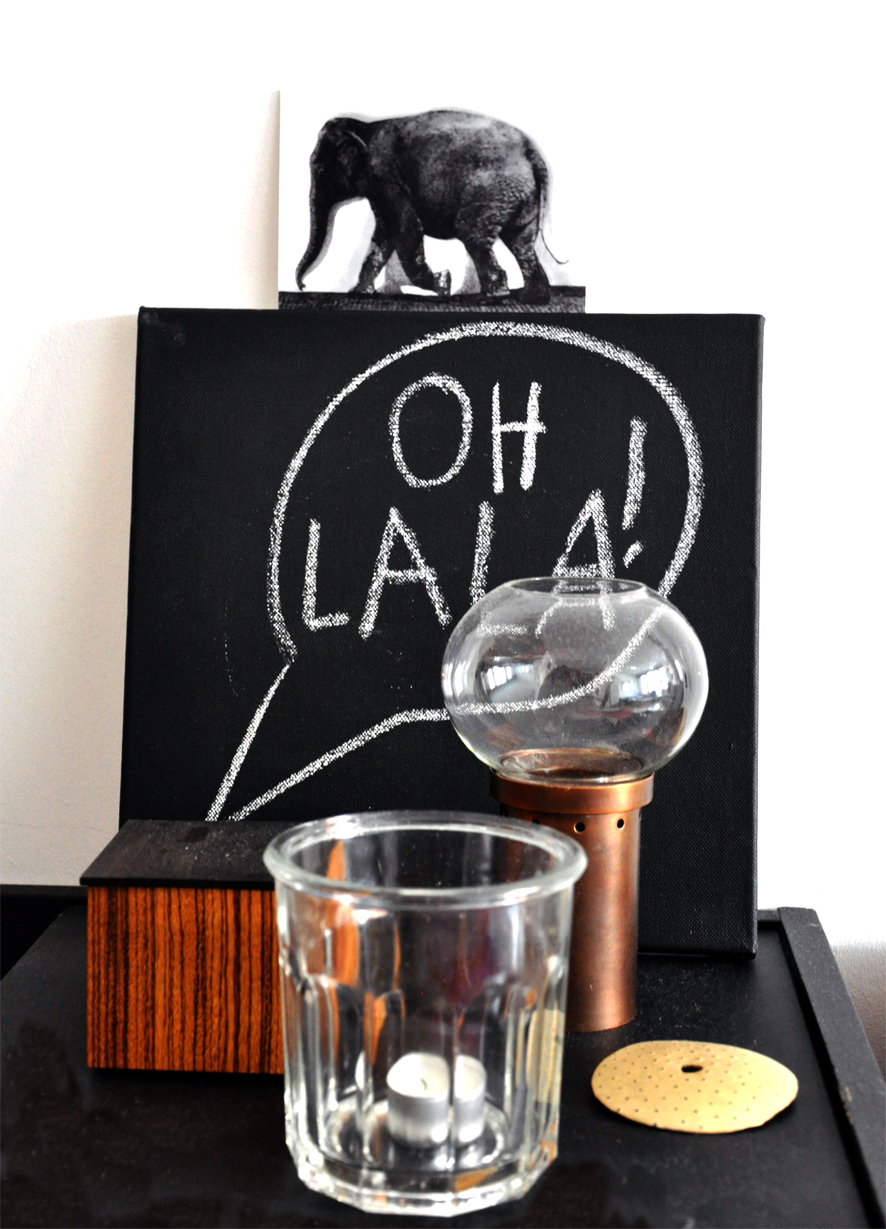
It's a cotton stretched canvas you can buy in art supply stores or sometimes at the Baumarkt. You don't need a high quality one. Paint it with blackboardpaint (2 times, 24 h between the two coatings) and it is ready for your to draw on it! I used white chalk and painted a little pattern. 


Here is another picture:


And another one:


It' s fun! Have a nice weekend!

Diy - lampshade

 
As I wrote in the previous post I visited Koja two weeks ago. I took a lot of pictures and of course I can't show them all. But I want to show you one more, because it inspired me to do this diy:


The picture is not good, but this is the only one I have where you can see the lampshade. I think it's very nice and so I decided to make one for myself out of air-drying clay! I tried to make a lampshade before and it didn't really worked out. 
Nevertheless it was hanging in our kitchen for more than a year now. Time for a change.
These are the two lampshades:


You need:
- ballon
- big glass or little bowl
- 1kg air-drying modelling clay (I used  Staedtler Fimo Air white)
- a clean underlay ( I used my cutting board)
- a knife and clay modelling tools ( I am shure a spoon, knife and folk will do it too)
- a bowl with water
- some cardboard
- pendant light cord & bulb

Instruction:

1) Draw the shape I used (it' s 6 cm long and about 4-5 cm wide) onto cardboard or thick paper and cut it out
2) Blow up the ballon (mine had the size of a little honeydew melon)
3) Take 1/3 of the clay and roll it out (2 - 3 mm thick)
4) Cut out as many little forms as possible
5) Brush the pieces slightly with water and place them around the ballon (in the lower third). The pieces will stick to the ballon
6) For the 2nd layer I used a fork to roughen the backside of the forms, they will stick better to the first layer, use a little water too
7) Press the forms slightly one after the other and spread them a little with a knife, so they stick together
8) Be careful with the last row, every piece should be connected and take some extra clay to strengthen this part
9) Let it dry 24 hours (don't put it in the sun or nearby heating)


10) Destroy the ballon, make a tiny hole and let the air out slowly
11) Use a thin laywer of clay and spread it on the inside of the lamp to strengthen the whole construction/ Let it dry
12) Unscrew the plug and pull your lampshade over the light cord (carefully!) / screw the plug back on

 Tadaaa!


You could even paint it with acrylic or poster paint. I will leave it for now, but I can  imagine it looks really nice with a colour gradient or so.

Time for a little DIY project?

Hej!
I have a little DIY project for you! It is very simple, you just need some fabric, textile colour and some water! 


I work a lot with watercolour and now I tried to transfer my little experiments I do on paper to fabric. 


I used differend kind of papers, a lot of water and watercolour. The dark blue one I pinned to the wall, while it was still wet. I did the same with fabric:


The right one was folded and then dipped into colour. Both samples were hanged on the clothes drying rack while drying.

Here are the instructions for the blue pillowcover:

Take a sponge a apply water to the fabric, it should be quite a lot, so use a wetproof surface.
Then apply the colour with a stencil brush. You can go wild and just apply the colour spontanous, I used a ruler and applied the colour in fixed distances. I wonder if you understand! Do you?
Now you have to hang the wet fabric on the clothes drying rack and wait :)


I like the somehow dotted batic appearance of the pillow. If you try this, please send me a picture :)

DIY PRINT CUSHION COVER

 Hello there! Here is another simple print project. If you don' t have equipment for screen printing at home you can use this easy method to print a beautiful cushion cover. Everyone can print!


 What you need:
fabric
screen print colour (white opaque)
tape
sponge

Instructions :
1)  Stick the tape on the fabric, you can use any simple geometric form.Press the tape, so you make clear that there will be no colour under it.
2) Take the sponge and apply the colour. The colour should be quite thick; opaque colours can be used on dark fabric (it covers perfectly).
3) Take the tape away and let the colour dry. Now you can fix the colour with an iron.


5 Minute DIY: Drop-Garland


Hej! Today I want to show you a very simple DIY project: A garland made of felt ribbons.
You need:
felt ribbons (0,6 cm) 
hemp cord or any other kind of strong, thin cord
needle

Instruction:
1) Cut the felt ribbons in different lenght: 19 - 23 cm
2) Tie a knot in the cord
3) Pass the needle through both ends of the little felt ribbon
4 ) Tie a knot next to the first drop
5) Repeat this every 10 cm


I made this garland for Emma! She was born in February. Welcome Emma! Now I am the proud aunt of three nieces and one nephew. ♡

Diy Cards


This is a very simple greeting card diy. You can find the instrucions here (german), but I am shure you don' t really need them!

Say hello


A very simple greetingcard-print-project. You need some blank cards and envelopes, a round stamp (linoleum, you can buy them ready made) and an ink-pad. I also had some neonstickers left...

Choose 3 colours and print your own little collection.Send them to friends and family. Just say hello!